Back when we built our house we just had the little lady and although we planned to have more kids it wasn’t on the radar then. But as these things happen the little man surprised us mid build and was born just as the build finished. His room had origninally been designed to be a home office, so it’s naturally one of the smallest rooms in the house. We do have two further rooms on the top floor but we (mainly me) didn’t fancy running up and down a flight of stairs each time we were needed.
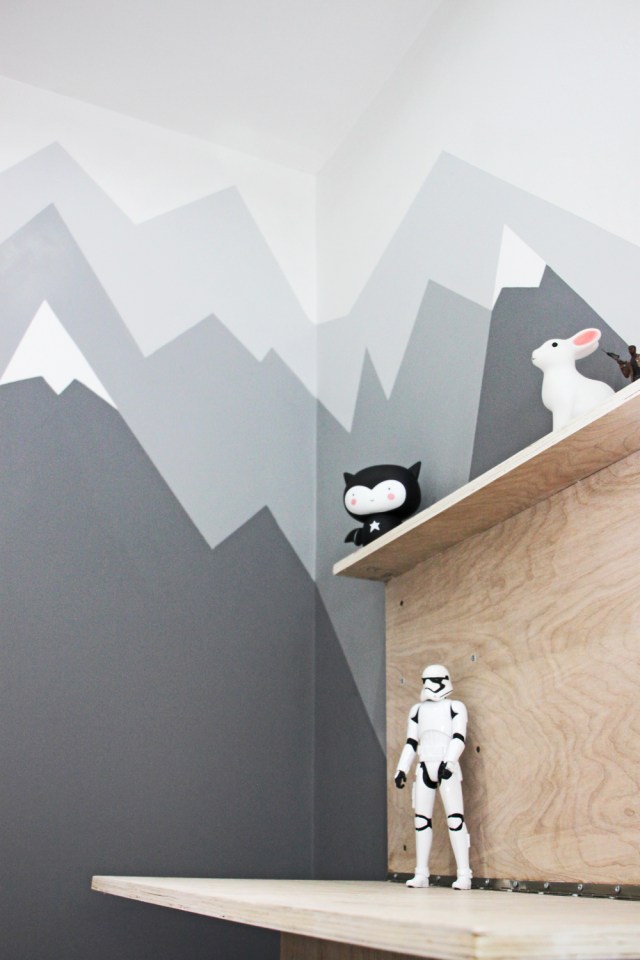
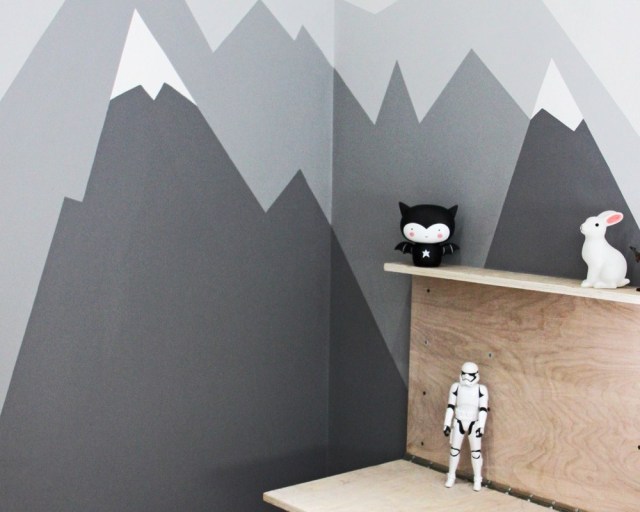
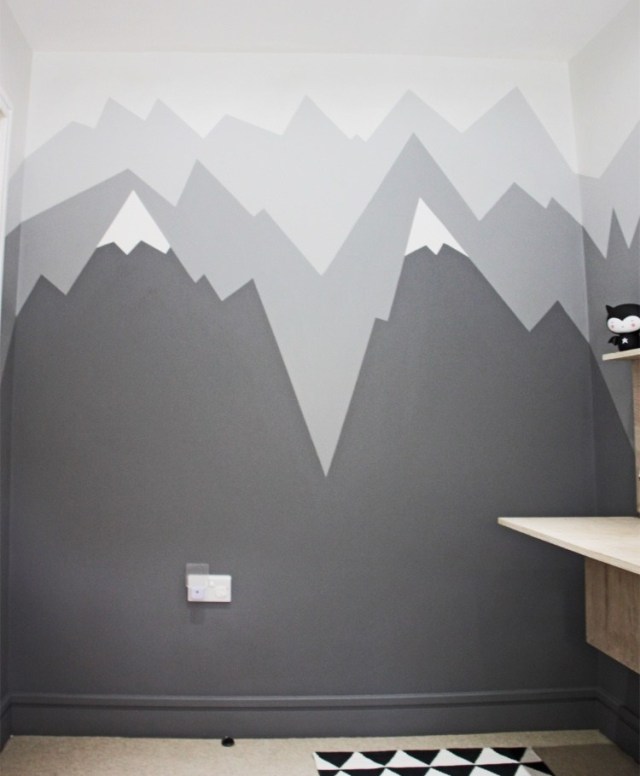
Finally last year decided that, now that he’d out grown his cot, it was time for an update. I’d fallen hard for all the scandi mountains wall murals I’d seen on Pinterest… so I did my own take on it and wanted to show you how we did it. I also wanted to mention that it had been a good few (maybe five) years since I’d picked up a paint brush.


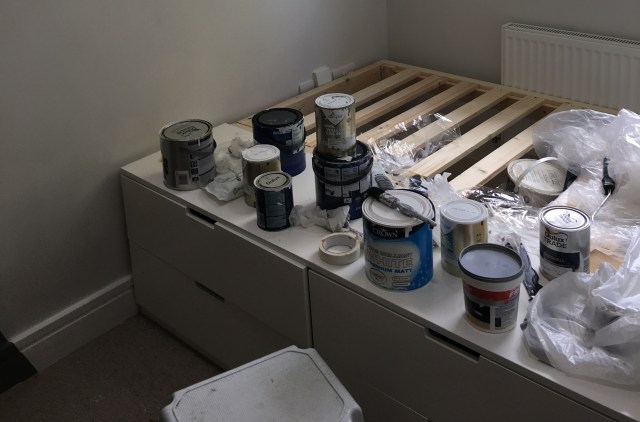
First I visited our local paint store, Trade Paints in Epsom and picked a whole load of paint samples to fit with the colours I had in mind. I did get a couple of paints made up to match. I also used a mix of paint suppliers to get as close to the colours as I wanted. In hindsight I’d have bought a lot of the darkest base colour and simply added some white to get the grey scales.
Then I used frog tape to mark out the shape of the mountains and the tops to the ceiling. But once the first lot of colour was on the wall I really wasn’t feeling the colour I’d picked for the sky… I luckily had some white paint left over from when we did the boot room, so dug into that supply.


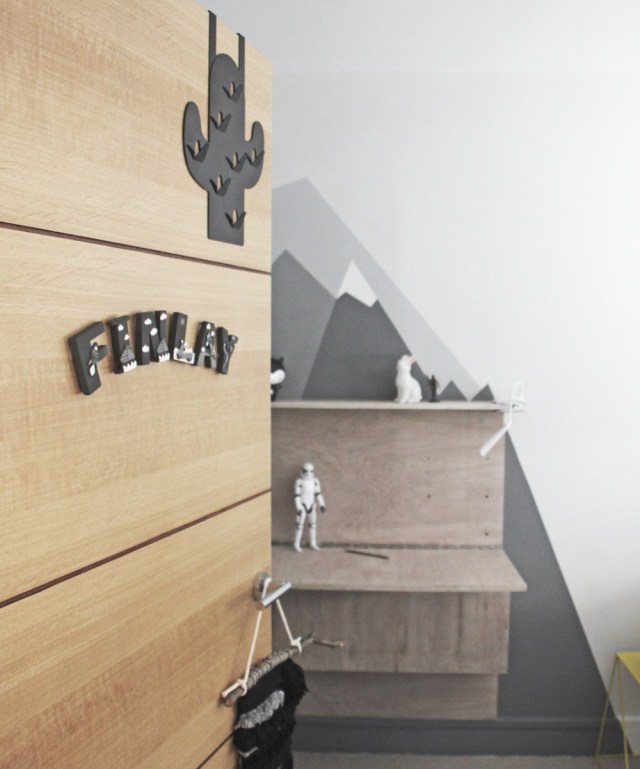
Next I took off the frog tape and filled in the gaps with a smaller paint brush. I also marked out the mountain tops. I got really stuck on whether to do them white or black and a quick insta poll helped me decide on white.


We’d had black out roller blinds made to measure not long ago, so I sought help from the lovely Annie Sloan to see if it was paintable and how to go about it. I watered done some of her amazing Annie Sloan chalk paint and painted it onto the blind. It did end up a bit crunchy but it looked great, did the job and saved us spending out £250 on new bespoke blinds.


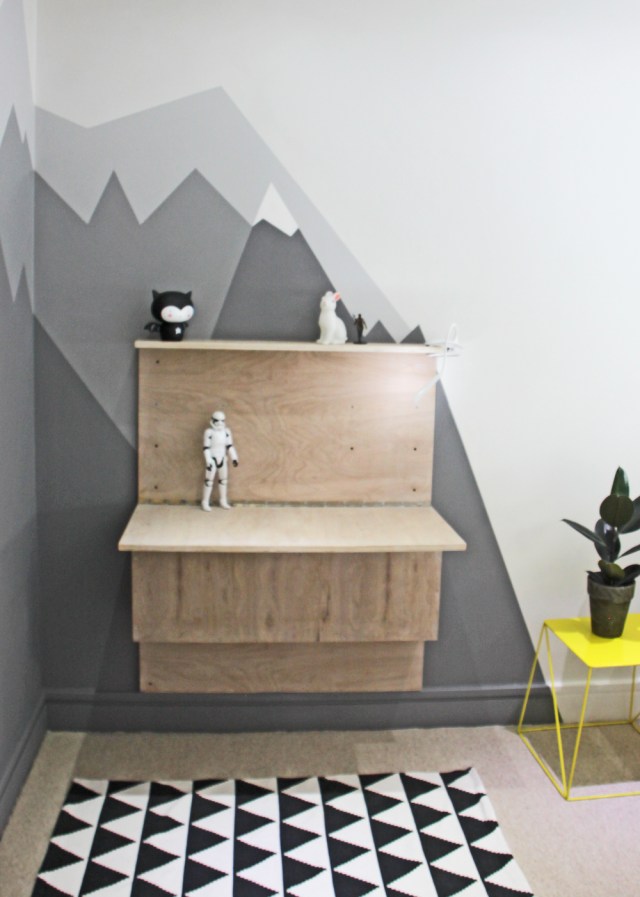
I found this amazing desk on Pinterest and wanted to adapt it to work in Finn’s room. We went and sourced some ply hard wood from Homebase Ewell and they kindly cut it to size for us. Hubby originally made it too deep and Finn couldn’t fit his legs underneath it. So we (he) had to take it apart cut it down and to make it fit. Once it was hung I then oiled it with a white wax to tone down some of the pine colour. It also lifts up to reveal storage underneath but also to create more space for playing in this small space.
The only picture I have from the bed being build is the one above… We bought three Nordli draw units from Ikea which fitted the width of the room, one single and two doubles. Simon then built a slatted base to sit behind them. We then bought a double mattress from Ikea to sit on top. This gave him more than enough storage for all his clothes and we no longer needed a wardrobe, plus he can reach everything and be more independant. A few shirts are kindly hung in his sisters wardrobe, that’s it.


Finn already had these Jojo Mama Bebe door letters on his door but the primary colours didn’t really fit with the colour scheme. So I used some Annie Sloan paint I had to transform them. I was really pleased with how they turned out and how much I had enjoyed painting them.


Sourcing accessories for the room is always one of my favourite parts, and where possible I like to support other small businesses and a Cheryl Rawlings print was one of the things I knew I wanted in the room. It came beautifully wrapped and I even got a couple of postcards for my pinboard too.
And that was it, I really enjoyed doing this for the little man and he was thrilled to bits’. We now also have another double bed for guests to stay in. Here’s the finished room…